Troubleshooting Cheatsheet: Emulating a Beat Detective Workflow in
Logic Pro X
While I was editing drums tracks for my album, I compiled a number of tips & tricks I wanted to keep track of for my next editing session. I used Logic Pro 10.5.1 and the emulation of the Beat Detective workflow explained in this great video by Phil Dubnick.
Some of the situations I faced might actually be issues that have been fixed in the next versions of Logic Pro.
Circumventing
performance issues
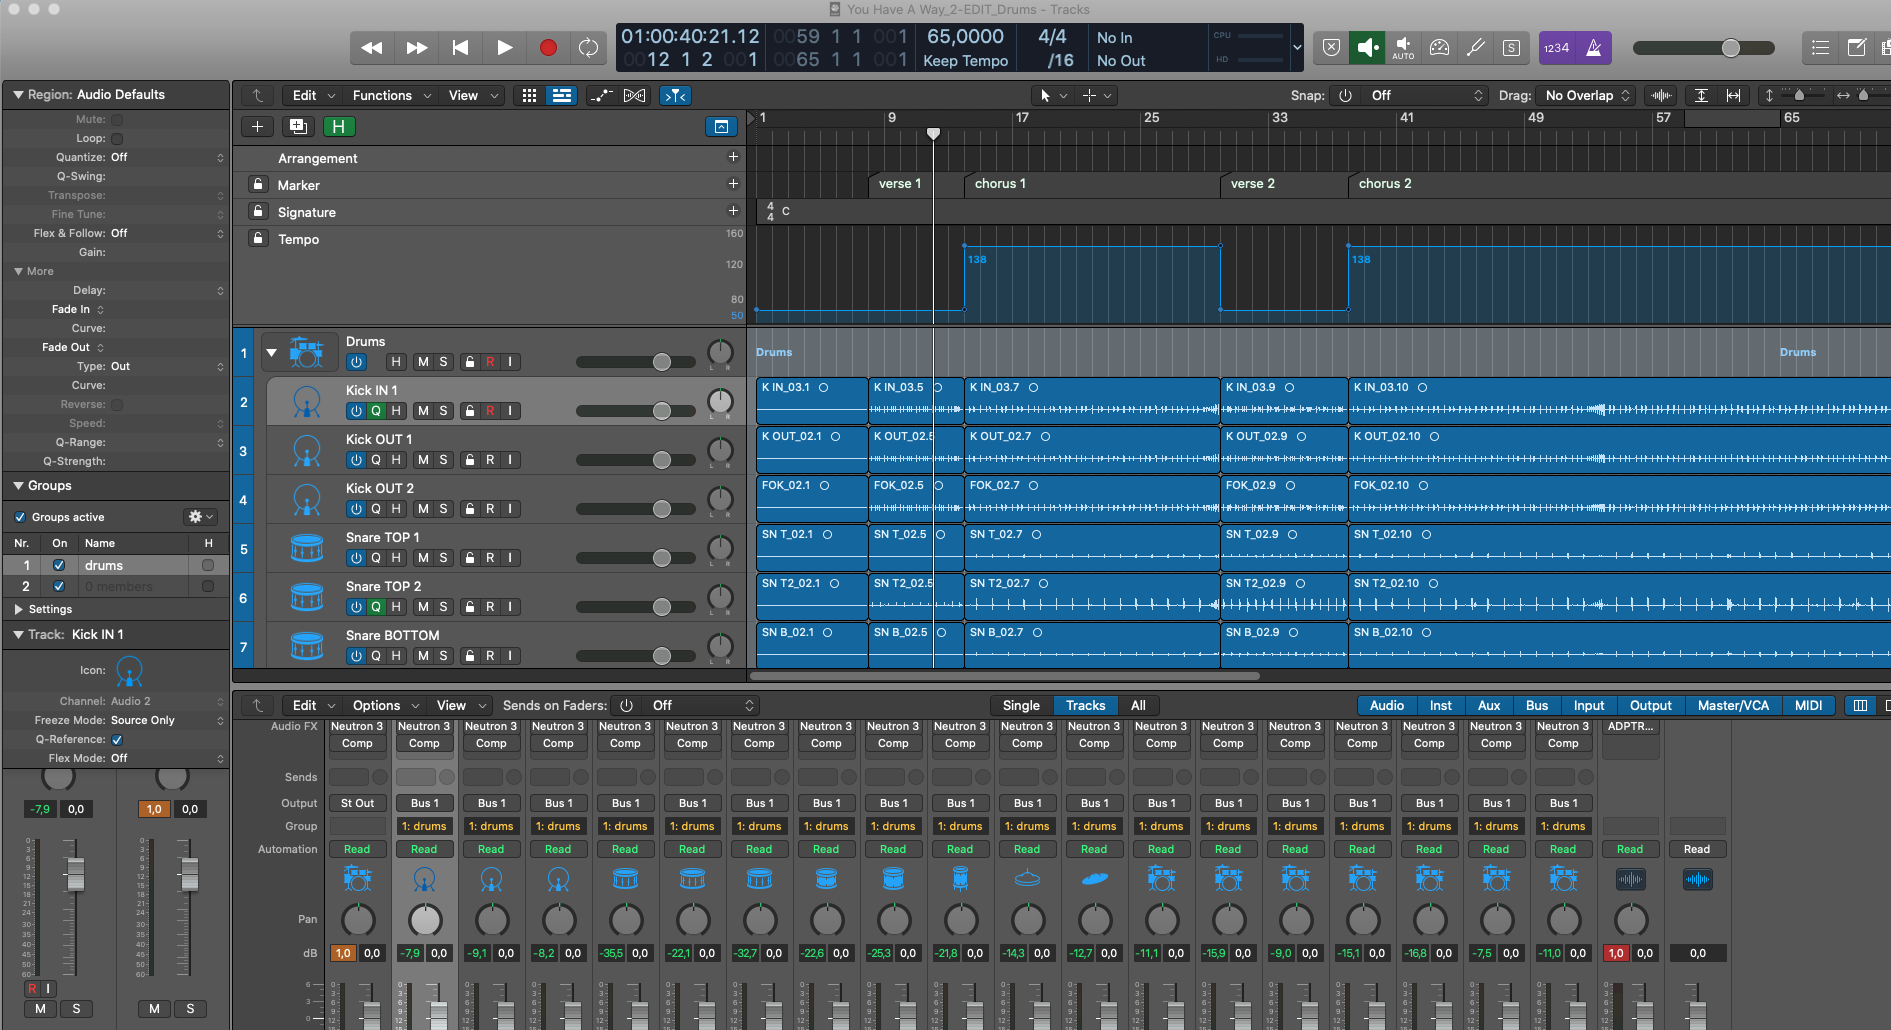
I do not have a particularly powerful computer to produce music: I run Logic Pro X on a MacBook Pro 1,4 GHz Intel Core, i4 four cores, 8 Go RAM. Still, that should be enough. As it should be, I set my Audio preferences to the optimal configuration for editing:
In Preferences > Audio:
Maximum buffer size available (1024 here)
Maximum Processing Threads (in my case, 8 instead of Automatic)
Process Buffer Range: Large.
However, two commands were taking a lot of time in the editing process: turning on and off Flex time in the Track view on the left was particularly time consuming - around 60 seconds, if I was lucky.
The obvious and simple thing to do is to minimize these actions by grouping the slicing actions before doing any type of quantization:
1. Identify parts of the songs that are going to use the same Q-reference tracks.
2. Enable Flex and slice these audio regions.
3. Disable Flex.
4. Repeat until everything is sliced.
Then proceed with actual quantizing and cleaning up everything
Another performance issue I hit was Logic becoming slower and slower as I was progressing in my song, especially on grouped stretching/dragging actions. What seems to make it a little bit better is to regularly delete unused files in the project, before each quantization action for instance.:
1. F > Project tab
2. Edit > Select Unused
3. Edit > Delete (note this doesn’t actually delete the files from the disk or project)
Flex Time quantizes my audio tracks automatically when activated
After editing six songs, I ran into a new problem for the 7th track: when activating Flex Time, the regions would automatically be quantized. Even though I hadn’t set any Q-track yet or launched a quantization command.
The one difference was that for that song, I didn’t need to cut my tracks to identify the different parts of my song. I wanted to slice and quantize the whole audio track all at once.
But: I had tempo changes throughout the song. It turns out Flex doesn’t like it and I needed to cut the region right before I started to Flex (as pointed in this forum discussion), i.e. where the first transient marker is set in the track.
And I needed to do that each time the tempo changes, otherwise it will still mess out with the tracks.
After that, I could activate Flex Time, and slice all I wanted.
Notes on the overall workflow
How to treat fills
When I quantize, I first exclude the fills to see how they sound ‘naturally’: I want to keep the human feel of the player’s interpretation as much as possible. If they feel off because of the quantization, I manually edit them, as lightly as possible to keep the mood.
On the contrary, if this is a super simple fill (like a toms/snare just marking beats to build up towards the next section) which doesn’t need much feeling, quantizing them might be a better option to have something super tight.
Another reason not to edit fills to heavily is to keep as much resonance as possible from the toms, which are often used in these parts.
To quantize or
not to quantize on the hi-hat and ride cymbal?
That has been the question during my whole editing session indeed.
Good reasons for quantizing on the hi-hat/ride cymbal:
- hand/foot parallelism is good (hi-hat hits and kick hits happen at the same time)
- the tempo is slow and highlights the hi-hat/ride hits
- there are frequent open hihats hits
- I want something to sound super tight and constant
Slow to mid tempo with few snare and kick will highlights the hi-hat or the cymbal, which will playa major role in how the overall beat feels. If the hi-hat or ride is not right on the beat, it will create accelerando and deccelerando impressions even if your kick and snare are right on the spot. Quicker tempi are less of an issue, especially with the ride cymbal.
Good reasons not to quantize on the hi-hat/ride cymbal:
- heavy use of a ride, especially if at a fast enough tempo
- hand/foot parallelims is not good so I might end up manually edit all the kick/snare again
- there is a feel I want to keep
Frequent crossfades on the ride cymbal have an impact on the sound, especially at busy tempo. In that case, it comes down to a compromise that I had to make by ear: sometimes a ride hit that’s not quite right doesn’t bother me within the overall section, sometimes it stands out.
Closed hi-hat hits won’t have the same resonnance and sustain, so it’s generally less of a problem. Open hi-hats should get some special care, and generally, stretching a hi-hat audio region to the maximum possible until the next one sounds best.
The workflow I mostly use is quantizing on the hi-hat. Doing the same with the ride cymbal requires more stretching out afterwards, which might not be worth the time especially if the original track is good enough.
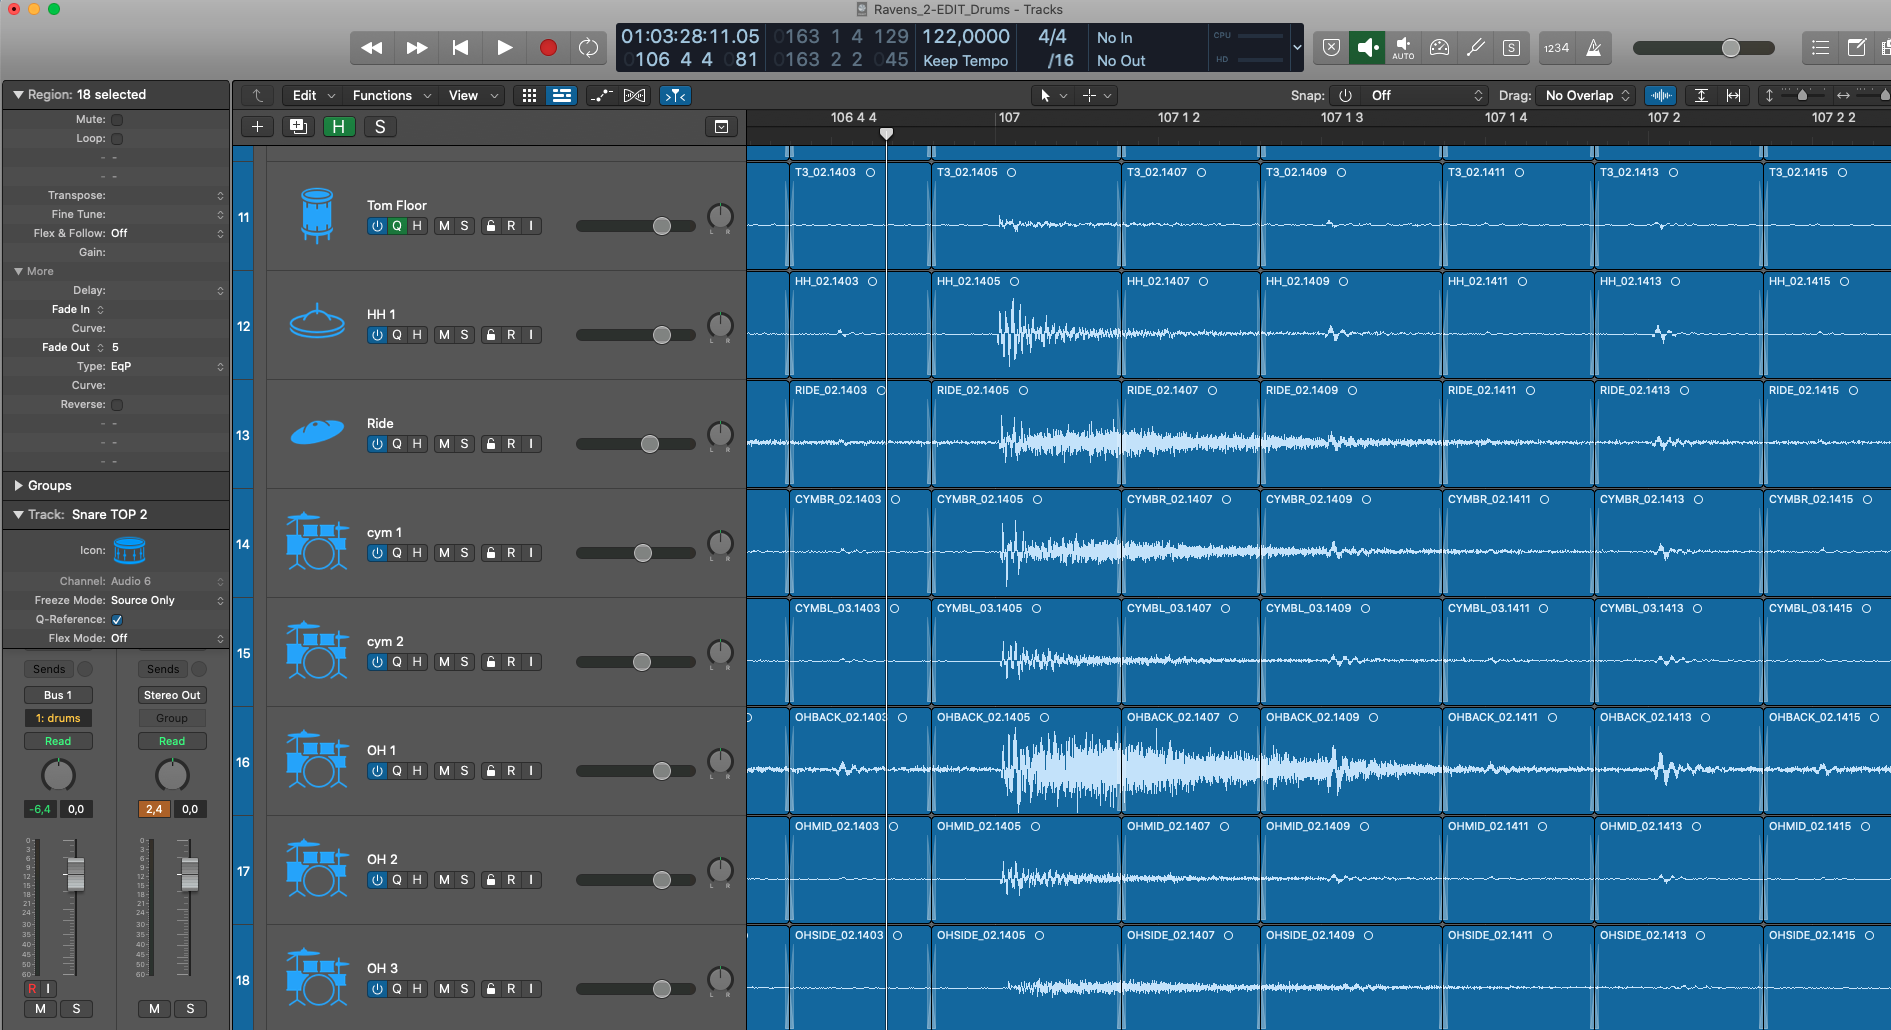
For sections with a lot of toms, I encountered the same issue than for the ride cymbal, especially when it comes to keeping the resonnance of the floor tom. I generally quantize and then see what regions I can stretch out back so the section sounds more natural.
The mouse actions are also different depending if you quantize-then-stretch vs. manually fix-after-quantization:
- quantize-then-stretch: slice and quantize everything and then repetedly stretch out section between kick and snare beats to eliminate the intermediary crossfades.
- fix-after-quantization: clean up transient markers in the snare region before slicing (as explained in the Beat Detective emulated workflow tutorial), and then re-cutting and manually editing the cymbals hits that seem off to me.
When I suspect I will have to do a fair number of these actions, I generally prefer to stretch out the audio region (1 click of the mouse), as I found the action of setting up a crossfade more cumbersome especially when repeated (cut, select fade out type, double click to the set fade out length, hit Enter, reposition region...).
Editing transient
markers and dealing with quantization precision
Note: Select “File”, not “Track” tab in the Editor Window to access to the editing mode for transient markers.
For deleting transient markers, you can double click on one, or selection a region of the file and hit the delete key (https://support.apple.com/guide/logicpro/edit-audio-files-with-transient-markers-lgcp21586c87/mac)
I looked for the “Remove Silence” (Control + X) feature to remove automativally transient markers below a certain volume threshold, especially to leave out ghost notes and the bleed of the cymbals, but it didn’t see to make the trick. If you have an idea about how to do it, I’d be interested to learn about it.
I didn’t took time to readjust or even check transient markers before slicing. I think overall they were located well enough.
Setting fade out doesn’t work
Setting Fade Out to a group of regions including one region which already has a crossfade doesn’t work. Deselecting the region which already has a crossfade will solve the issue.